Step 1: Go to the Data Hub
Start by navigating to the Data Hub.This is where all shared datasets live, including locations.
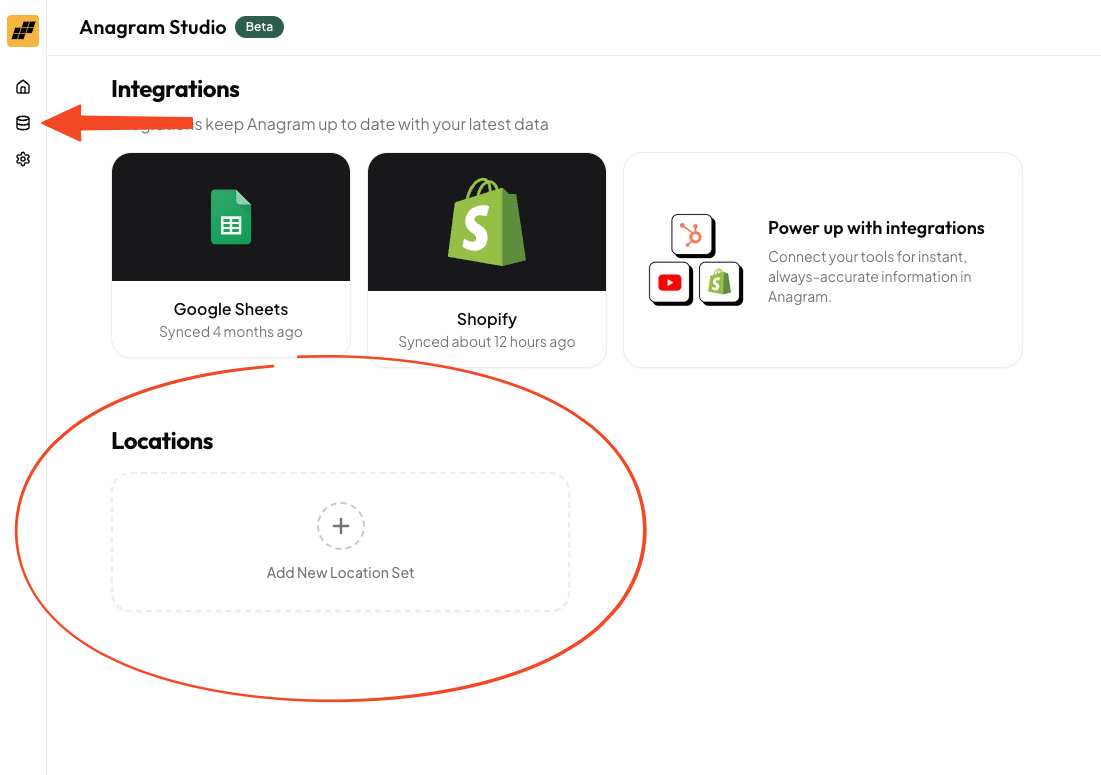
Step 2: Create a Location Set
Click Create Location Set. A Location Set is the collection of locations your Location Finder runs on. Think of it as the source of truth for every store or place the experience can recommend.Step 3: Add Locations to the Set
In the Location Set creation modal, you’ll see two ways to add locations:Option 1: Upload a CSV
If you’re coming from another location tool (like Locally), you can export your locations as a CSV and upload it here. This is the fastest option if you already have structured location data.Option 2: Add Locations Manually
You can also search for and add locations directly inside the UI. This works great if you have a smaller number of locations or want to build the set incrementally.Missed a location?
No problem. After the Location Set is created, you can click into it at any time and use the Add Locations button at the top to search for and add more.

Step 4: Create the Location Finder Experience
Once your Location Set is ready, head back to the Home page. Click Create Experience.Step 5: Choose the Location Finder Template
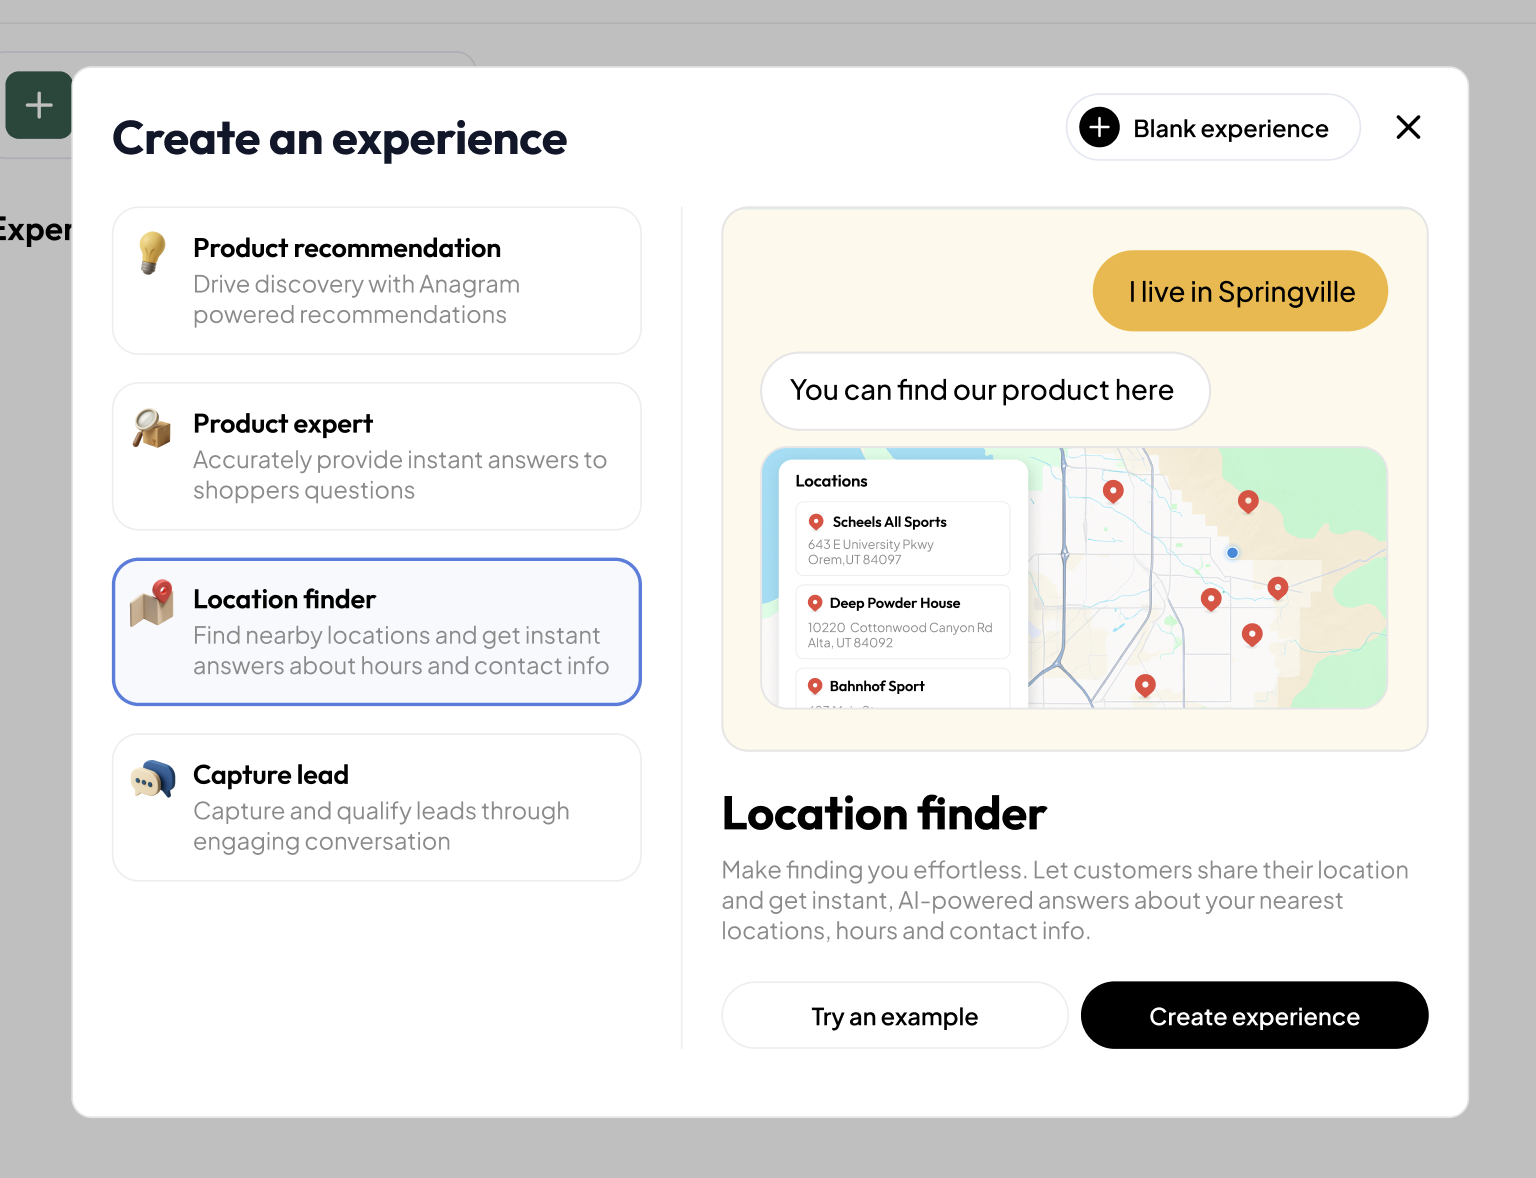
- A clear goal
- A basic Guildlines
- The right skills enabled by default
Step 6: Connect Your Location Set
You’re almost done. Open your new Experience and go to: Skills → Location Finder Make sure the correct Location Set is selected. This tells the experience which locations it should search and recommend.Step 7: Preview and Publish
Use the Preview to test the experience and make sure it behaves the way you expect. When you’re happy:- Click Publish at the top
- Copy the embed code
- Add it to your site
Step 8: Track Performance
After publishing, you can monitor how the experience is performing by visiting the Metrics tab on the Experience. You’ll be able to see how users interact with it and how often locations are being found.That’s it.
You’ve created, published, and launched a Location Finder experience.